Creative DIY Bed Frame Projects
Creative DIY bed frame projects let you blend style, function, and personal flair to craft a bedroom centerpiece that’s uniquely yours. This guide walks you through minimalist, storage, floating, and king-size builds with practical cut tips, safety notes, and pro-level advice so your custom bed frame feels solid from day one.
Key Takeaways: creative DIY bed frame projects
- Plan first: sketch dimensions, materials, and joinery before the first cut.
- Pick a path: minimalist platforms, storage bases, floating frames, and king-size builds suit different spaces and budgets.
- Save smart: source lumber efficiently and reuse where possible to cut costs without compromising strength.
- Sustainable choices: consider reclaimed wood, low-VOC finishes, and eco-friendly alternatives for a greener build.
- Finish strong: accurate joinery, center rails, and slats make creative DIY bed frame projects durable for daily use.
Why Build a DIY Bed Frame?
Answer first: DIY lets you tailor height, storage, and style while saving money and building skills. You control joinery, finish, and materials for a bed built to last.
Whether you want a low-profile platform, hidden-storage base, or a show-stopping floating design inspired by bed designs from around the world, building your own frame keeps costs predictable and customization unlimited. Start with our foundational walkthrough on building your dream DIY bed frame and pair your finished base with the right mattress type in our mattress guide.

How to Plan: Sizes, Clearances & Budget
Answer first: Measure the room, choose the mattress size, and set a realistic budget. Planning prevents rework and keeps cuts accurate.
Leave at least 24–30 inches of walkway on the long sides for comfort. If you’re building for a child’s room upgrade or an aging parent, our bed transition guide covers safety rails, height requirements, and accessibility needs. If you’re adding drawers, confirm they clear nightstands and rugs. Budget buckets include lumber, hardware, tools you don’t own, and finish supplies. A basic queen platform in construction-grade pine and plywood can be achieved on a modest budget; hardwoods elevate look and longevity.
Pro tip: Mock up the footprint with painter’s tape to visualize door swings, drawer travel, and outlet access.
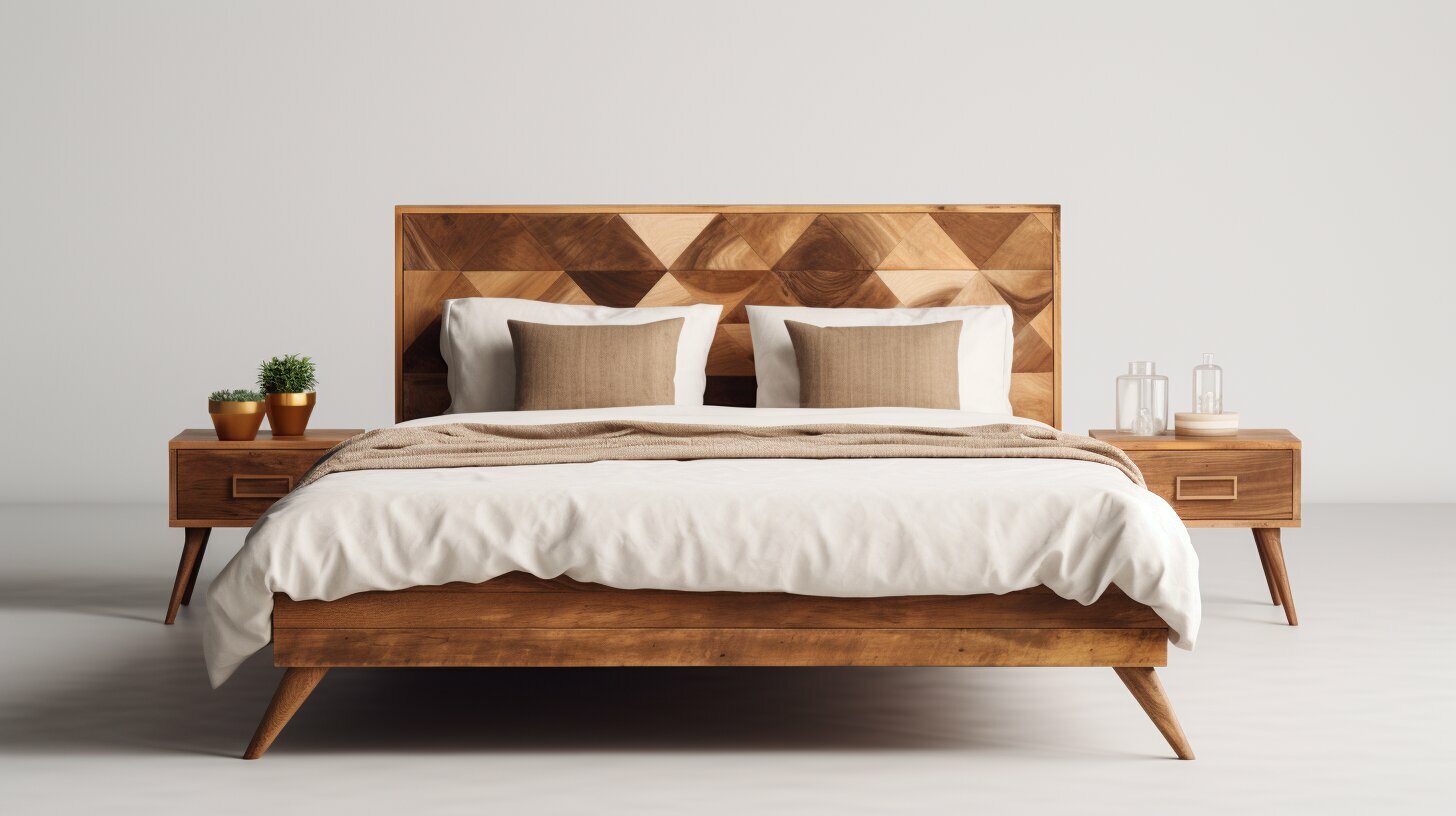
Minimalist Platform Designs
Answer first: Platforms are simple, sturdy, and box-spring-free—ideal for modern rooms and first builds.
Build a rectangle from four rails, add a center support, and top with slats spaced 2–3 inches for most foam and hybrid mattresses. A flush, square edge suits Scandinavian or Japandi decor; a slight overhang makes bedding tucks easier. For more sleek inspiration, see our platform and storage beds roundup and review categories of bed frames for design vocabulary with Sleep Foundation’s guide: types of bed frames.
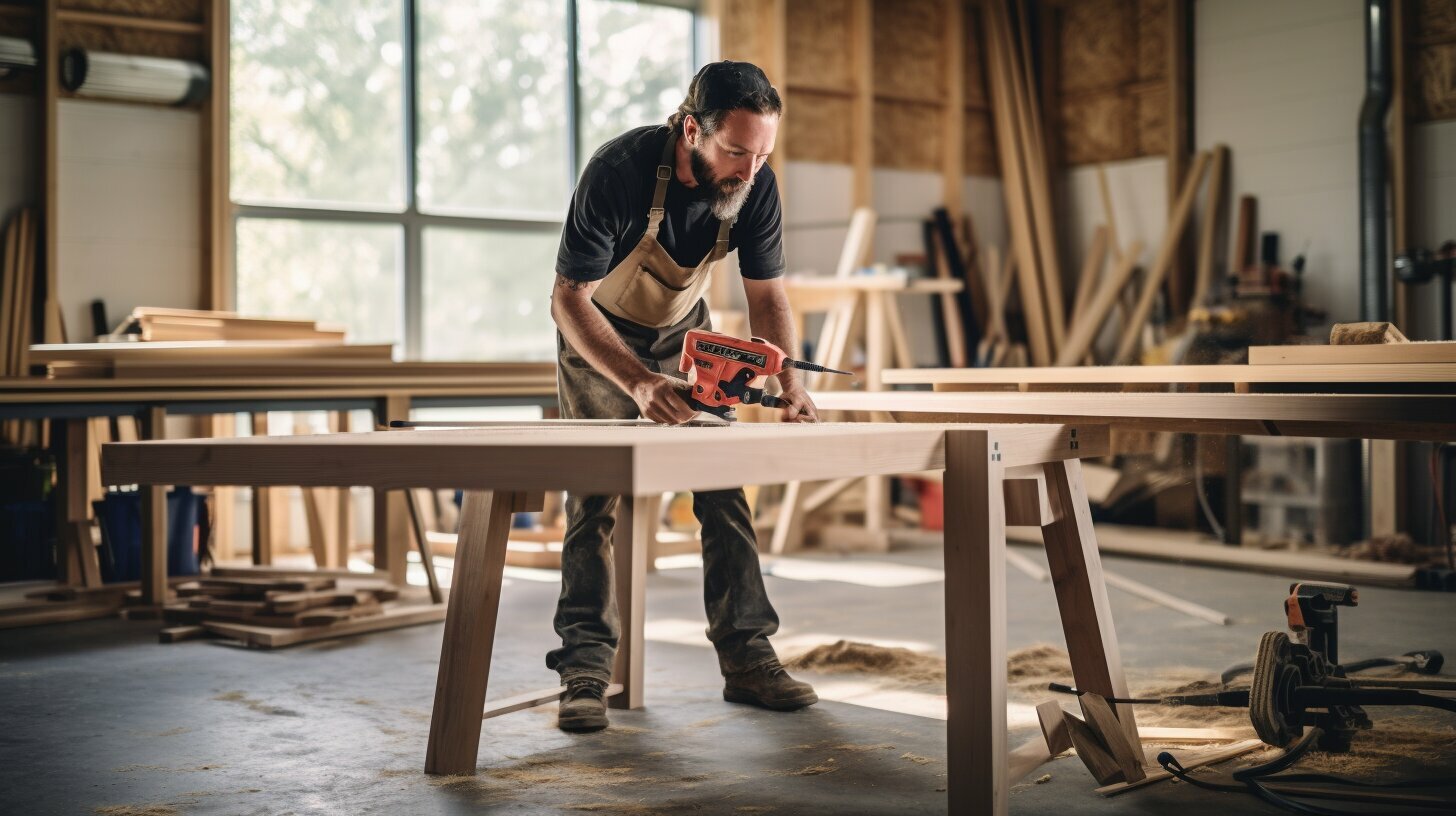
Step-by-Step: Basic Platform (Queen)
Answer first: Keep it square and supported: accurate cuts, solid glue-ups, and a center rail make the difference.
- Cut list (example): 2 side rails @ 80″, 2 end rails @ 60″, 1 center rail @ 80″, 6–8 slats @ 60″ (adjust to your mattress). Mill to 1×8 or 2×6 depending on style.
- Join the outer frame: Use pocket holes + glue or bed-rail brackets for knock-down moving. Confirm diagonals are equal to ensure square.
- Add center support: Install a center rail with two or three support legs. For heavy sleepers or latex mattresses, add a second center rail.
- Install slats: Pre-drill ends and maintain even spacing. Consider a thin anti-squeak strip between slats and rails.
- Finish: Sand to 180–220 grit, remove dust, and apply stain or a durable topcoat. Let fully cure before assembly.
Troubleshooting: If the frame racks (twists), add corner blocks. If slats bow, use thicker stock or a plywood deck.
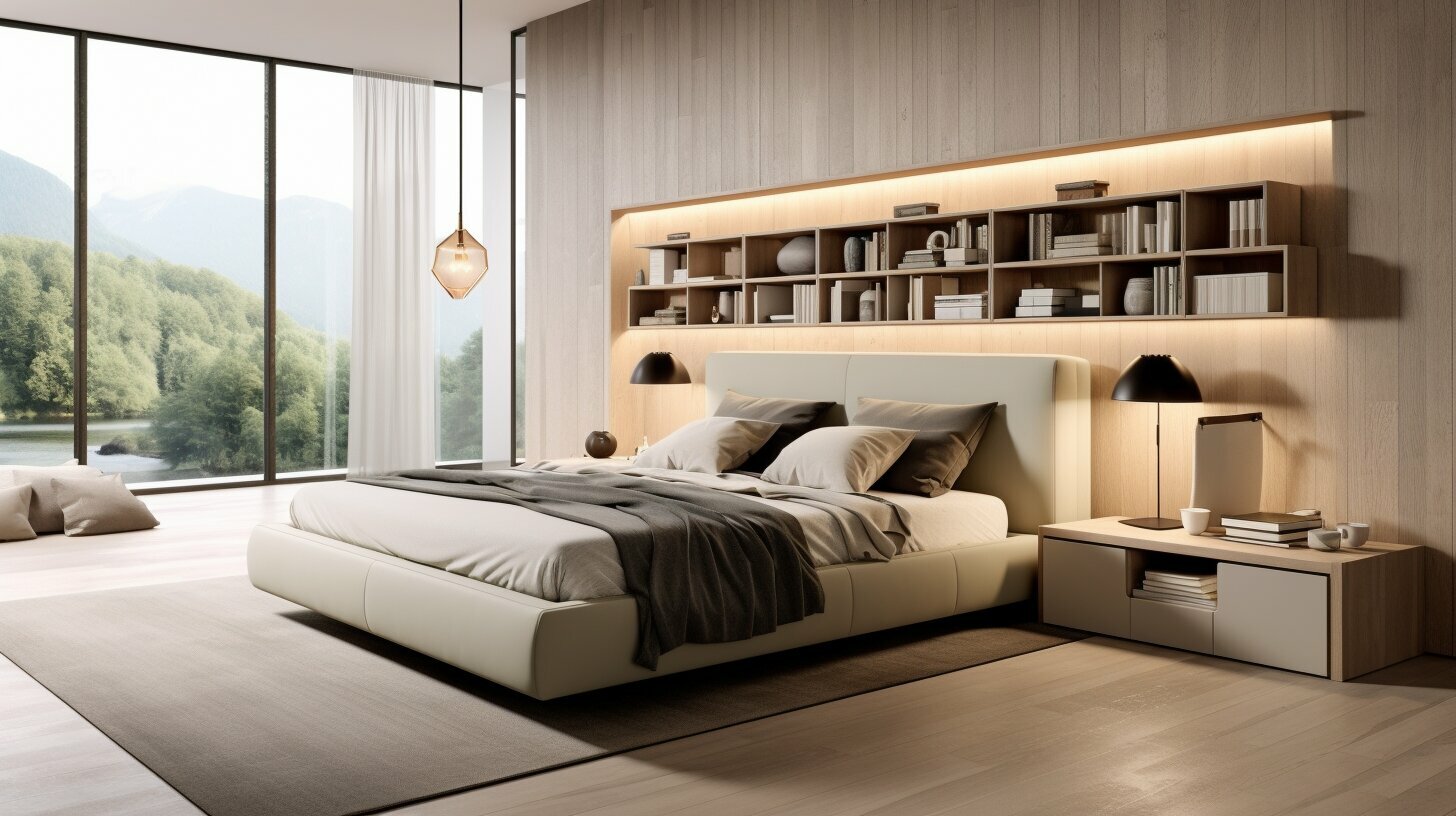
Storage Bed Frame Ideas
Answer first: Choose drawers, lift-up platforms, or headboard shelving to reclaim under-bed space.
Drawer bases resist racking when you add a face frame or corner bracing. Use full-extension slides for reach and label parts during assembly. A lift-up platform needs gas struts sized to the deck weight (frame + mattress). Bookcase headboards add visual mass while freeing nightstand space.
- Deep drawers for linens, seasonal clothing, or gear
- Hydraulic lift systems for bulky items
- Bookshelf headboards to blend storage and style
Explore a practical storage build workflow with Better Homes & Gardens: DIY platform bed with storage. For layout ideas inside the CBQ library, consult our bedroom storage solutions.
King-Size Bed Frame Tutorials
Answer first: Scale up structure: thicker rails, a center beam with legs, and tighter slat spacing handle the extra span.
King frames carry more load, so prioritize a center rail (or two) and use knock-down hardware if you move often. Upgrade to hardwood rails or laminated beams for long spans. For design direction—farmhouse, upholstered, or minimalist—anchor your plan with our sturdy DIY bed frame tips, and cross-reference buyer context in Sleep Foundation’s buyer guides: best bed frames and best platform beds.
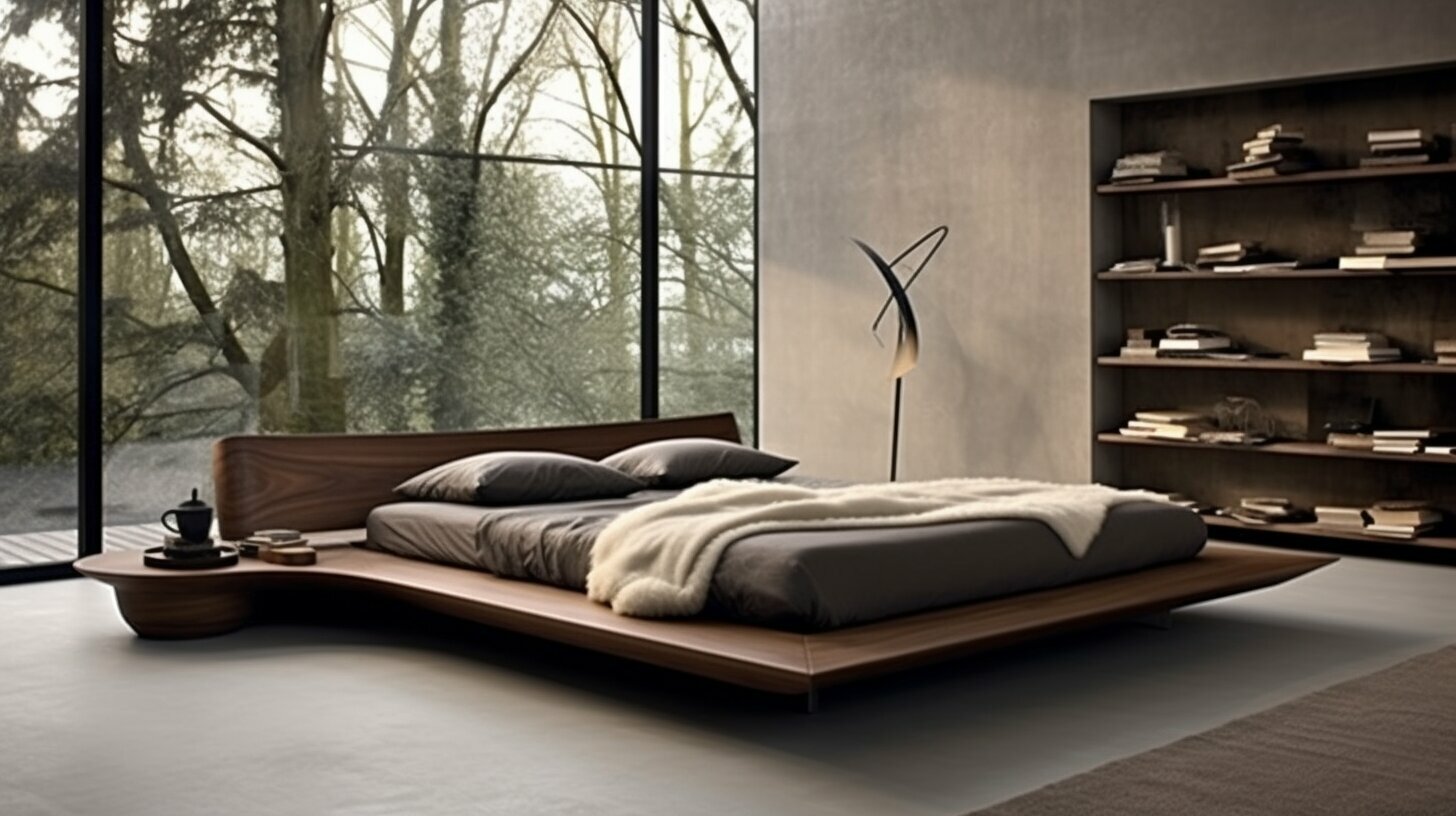
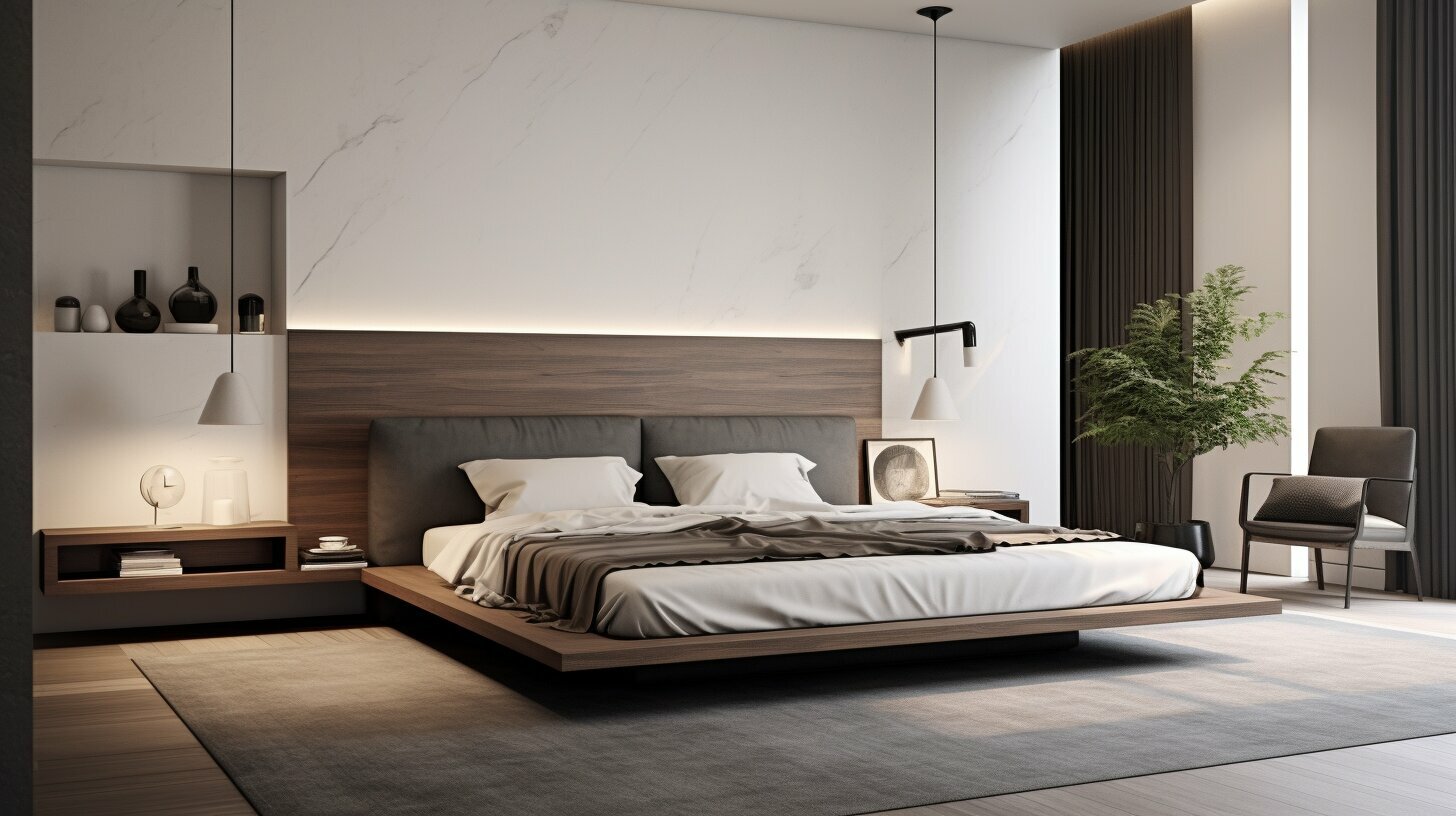
Floating Bed Frames
Answer first: Hide a recessed base or cantilever supports to create the “levitating” effect; add LED strips for drama.
A typical floating design uses a smaller inner base set back from the perimeter so it’s not visible, with a larger top deck. Tie rails to the deck with pocket screws and glue; lag the hidden base to support legs. Always confirm fastener shear ratings and distribute weight with cleats at the wall if you add a headboard. For design vocabulary across frame types, see the Sleep Foundation overview of types of bed frames.
Materials & Sustainability Choices
Answer first: Balance cost, strength, and eco goals—reclaimed lumber, formaldehyde-reduced plywood, and durable finishes all help.
Choose straight stock for rails to limit seasonal movement; pre-finish inside faces to save time. If you want a budget-friendly, eco-conscious build, explore our guide to a cardboard bed frame that’s sturdy and sustainable and our ideas for upcycling an existing frame. These options reduce waste while teaching core joinery skills. For a deeper look at eco-conscious building, check our sustainable bed frame materials guide.
Finish choices: Low-VOC waterborne polys cure quickly and don’t amber as much; oil-based options add warmth and deeper grain contrast. Hard-wax oils provide a matte, repairable finish.
Eco-Friendly vs. Conventional Builds
Answer first: An eco-first build reduces emissions and off-gassing without sacrificing strength or style.
Conventional builds often rely on new lumber and solvent-heavy finishes. Eco-friendly builds prioritize sustainably sourced lumber, recycled content where practical, and low-VOC or plant-based finishes. Reclaimed lumber can add character and reduce environmental impact—but inspect for nails and condition before milling. Plywood components labeled as compliant with stricter formaldehyde standards help keep indoor air fresher after move-in.
Cost note: Eco materials can be slightly more expensive up front, but durable finishes and thoughtful design extend the lifespan of the piece, lowering total cost of ownership.
Environmental Impact: Carbon, Water & End of Life
Answer first: Design for longevity, repairability, and eventual disassembly to reduce waste.
Wood stores carbon during its life; using durable joinery and repairable finishes keeps that carbon locked in furniture longer. Water use shows up in finishing and sanding—choose wipe-on products and plan coats to minimize waste. Finally, avoid excessive adhesives where screws or knock-down hardware will do; this makes end-of-life disassembly and recycling easier.
Certification & Labels: What Matters
- FSC-certified lumber indicates responsible forest management and traceability.
- CARB Phase 2 / TSCA Title VI compliant panels limit formaldehyde emissions in composite wood products.
- Low-VOC or Greenguard labels on finishes or components support better indoor air quality.
While certifications aren’t mandatory for creative DIY bed frame projects, they’re useful shorthand when comparing material options at the lumberyard.
Tooling, Joinery & Fasteners
Answer first: Simple pocket-hole joinery works for many builds; add mortise-and-tenon or bed bolts for heirloom strength.
At minimum, you’ll need a drill/driver, circular saw, sander, clamps, wood glue, square, and measuring tape. Pocket screws + glue give fast results; add a center rail with support legs for queens and larger. For knock-down frames, use bed-rail hardware or threaded inserts and machine bolts. When possible, pre-drill and countersink to avoid splitting, and label parts before finishing.
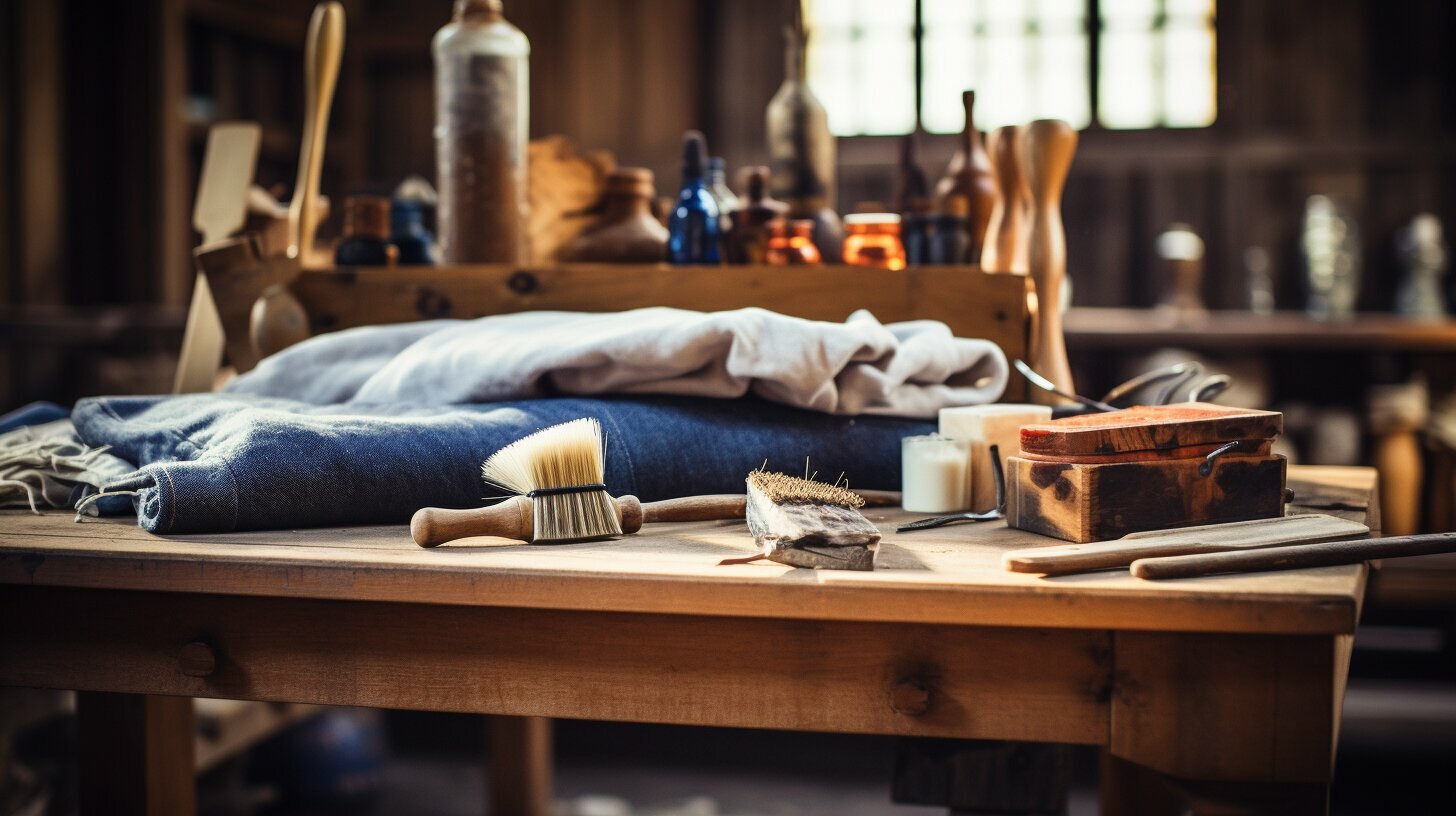
Finishing: Stain, Paint & Protection
Answer first: Sand to 180–220 grit, remove dust, then apply stain or a durable topcoat; let it cure fully before attaching hardware.
Oil-based poly, water-based poly, or hard-wax oils each have trade-offs in sheen, VOCs, and repairability. Test on offcuts and label ratios if you tint. Soft-close felt pads under feet protect floors and reduce noise. Once the frame is done, pair it with nightstands that match your new build for a pulled-together look. For care routines after finishing, Parachute’s practical bed frame care tips keep frames looking new.
Safety, Load & Squeak Prevention
Answer first: Protect your hands and your mattress—respect blade guards, support long stock, and prevent point loads that cause squeaks.
Work on a flat surface and clamp pieces securely before drilling or routing. Add center legs every 24–30 inches on long spans. Use construction adhesive at cleats and felt or cork between metal brackets and wood to dampen vibration. Tighten hardware after the first week of use—the wood will settle.
Cost & Timeline Planner
Answer first: Break the project into procurement, cutting, assembly, and finishing to keep momentum.
Procurement usually takes an afternoon if you arrive with a complete cut list. Cutting and milling can be done in one session for softwoods; hardwoods may take longer to joint and plane. Assembly runs faster when parts are labeled and pre-drilled. Finishing is mostly cure time—plan at least 24–48 hours before final assembly so surfaces harden and hardware doesn’t bite into soft film finishes. Keep a small contingency in budget for extra sandpaper, brad nails, and forgotten brackets.
Common Mistakes to Avoid
Answer first: The biggest time sinks are out-of-square assemblies, missing center supports, and rushing the finish.
- Ignoring wood movement: Allow for seasonal change with elongated holes in slats or cleats.
- Skipping test fits: Dry-fit subassemblies before glue so you can make micro-adjustments.
- Undersizing fasteners: Use appropriately long screws and confirm pilot sizes to prevent splitting.
- Over-sanding edges: Lightly break corners; don’t round them so much that joints look uneven.
Project Plans & Next Steps
Answer first: Start with a basic platform, then iterate. Consider your full bedroom furniture layout as you plan—add drawers, lighting, or a headboard once the base is dialed.
Browse project ideas to pick a design and material list. For broad shopping context on frames and durability factors, see Sleep Foundation’s buyer guide to best bed frames. Within Cozy Bed Quarters, continue with platform and storage beds or go sustainability-first with our eco cardboard frame guide.
Project Difficulty and Cost Guide
Answer first: Not every build demands the same skill level or budget. Here’s an honest look at what each project type requires—so you can pick the right challenge for where you’re right now.
| Project Type | Difficulty | Estimated Cost | Time Needed | Key Tools |
|---|---|---|---|---|
| Basic Platform (Pine) | Beginner | $75–$150 | 1 weekend | Drill, circular saw, pocket-hole jig |
| Platform with Headboard | Beginner–Intermediate | $100–$250 | 1–2 weekends | Drill, circular saw, sander, clamps |
| Storage Bed (Drawers) | Intermediate | $200–$400 | 2–3 weekends | All above + drawer slides, router optional |
| Floating Bed Frame | Intermediate–Advanced | $150–$350 | 2–3 weekends | Drill, saw, LED strips, pocket-hole jig |
| King-Size Frame (Hardwood) | Intermediate–Advanced | $300–$600 | 3–4 weekends | Miter saw, drill, clamps, bed-bolt hardware |
| Hydraulic Lift Storage | Advanced | $350–$700 | 3–5 weekends | All above + gas struts, piano hinges |
These cost estimates assume you already own basic tools. If you’re starting from scratch, add $100–$200 for a decent drill, circular saw, and pocket-hole jig—tools you’ll use on every future project.
The real cost variable? Wood species. Construction-grade pine runs $3–$6 per board foot. Oak jumps to $6–$10. Walnut can hit $12–$18 per board foot depending on your region and supplier. That’s why a pine platform costs under $150 while the same design in walnut might top $400.
Picking the Right First Project
Answer first: If you’ve never built furniture before, start with a basic queen platform in pine. It teaches you the skills that every other project builds on.
A basic platform is forgiving. The cuts are straight, the joinery is simple, and the whole thing goes together in a day or two. You’ll learn how to keep a frame square, how to space slats evenly, and how pocket screws actually work. Those skills transfer directly to storage beds, floating frames, and king-size builds.
Don’t jump straight to a floating bed or a drawer system for your first attempt. Those projects look incredible when they’re done, but they punish small measuring errors. A drawer that’s off by an eighth of an inch won’t slide right. A floating frame that’s not perfectly balanced will wobble. Get your fundamentals solid first, then level up.
Here’s another thing to consider: your first project teaches you how your specific tools behave. Every circular saw drifts a little differently. Every drill has its own torque personality. Learning those quirks on a forgiving pine platform means fewer expensive mistakes when you move on to hardwood builds that cost three or four times as much in materials alone.
Essential Tool Checklist for DIY Bed Frames
Answer first: You don’t need a fully equipped woodshop. Here’s what actually matters for bed frame builds, broken into “must-have” and “nice-to-have” tiers.
Must-haves:
- Cordless drill/driver—you’ll use this more than anything else
- Circular saw—handles rip cuts and crosscuts for rails and slats
- Pocket-hole jig (like a Kreg)—the fastest way to join frame pieces
- Speed square—keeps your cuts accurate and marks angles quickly
- 25-foot tape measure and a sharp pencil
- Bar clamps (at least two 36-inch)—hold parts steady during assembly
- Orbital sander—saves hours of hand sanding before finishing
Nice-to-haves (for intermediate+ builds):
- Miter saw—makes cleaner, more repeatable crosscuts
- Router—adds decorative edges and cleans up dados for drawer bottoms
- Table saw—rips boards to exact widths, great for slats and trim
- Brad nailer—speeds up assembly for backing panels and trim
Rent before you buy. Most home improvement stores rent miter saws and routers by the day. If you only need a specialty tool for one project, there’s no reason to own it. But if you catch the building bug—and a lot of people do—you’ll appreciate having your own gear ready to go.
FAQ
- What tools do I need for a DIY bed frame?
- Start with a drill/driver, circular saw, pocket-hole jig, clamps, square, measuring tape, sander, and wood glue. Add a miter saw and router as projects advance.
- Can beginners build a DIY bed frame?
- Yes. Begin with a platform bed: four rails, center support, slats, and corner blocks. It teaches crucial layout, fastening, and finishing skills.
- How long does it take to build a frame?
- Platforms often fit in a weekend. Storage or king builds may take several days—especially if you’re adding drawers, upholstery, or lighting.
- What’s the best wood for a frame?
- Pine is affordable and easy to work. Oak and maple are harder and resist dents. Use straight, kiln-dried boards and pre-finish parts where possible.
- Are DIY frames sturdy?
- Yes—when you include center rails on larger sizes, use quality fasteners, and keep hardware snug. Slat spacing or a solid deck supports mattress warranties.
Final Thoughts
Creative DIY bed frame projects give you a personalized, durable centerpiece without retail markups. Start simple, build confidence, and expand into storage or floating designs as your skills grow. For more inspiration and step-by-step tutorials, explore Cozy Bed Quarters’ project library below.
Related Reading
- Sleep Foundation: Types of Bed Frames
- Better Homes & Gardens: DIY Platform Bed with Storage
- Parachute Home: Bed Frame Care