How to Layer Rugs in a Bedroom for a Designer Look

layering rugs in bedroom - layer rugs bedroom designer

Layering Rugs in Bedrooms for Warmth and Style

Layering Rugs in Bedroom can make your space look professionally styled in minutes. A smart stack of textiles adds tone, texture, and depth so your room feels cozy and curated without a full remodel. For bed-by-bed sizing basics, start with our Bedroom Rug Size Guide (pillar).

Key Takeaways

  • Use a larger base to frame the top rug and keep a visible border.
  • Pair natural flatweave with a plush accent to add texture and warmth.
  • Map sizes with painter’s tape so placement feels right before you buy.
  • Let furniture front legs rest on the base for a polished, designer effect.
  • Layering Rugs in Bedroom refreshes what you already own and boosts visual interest.
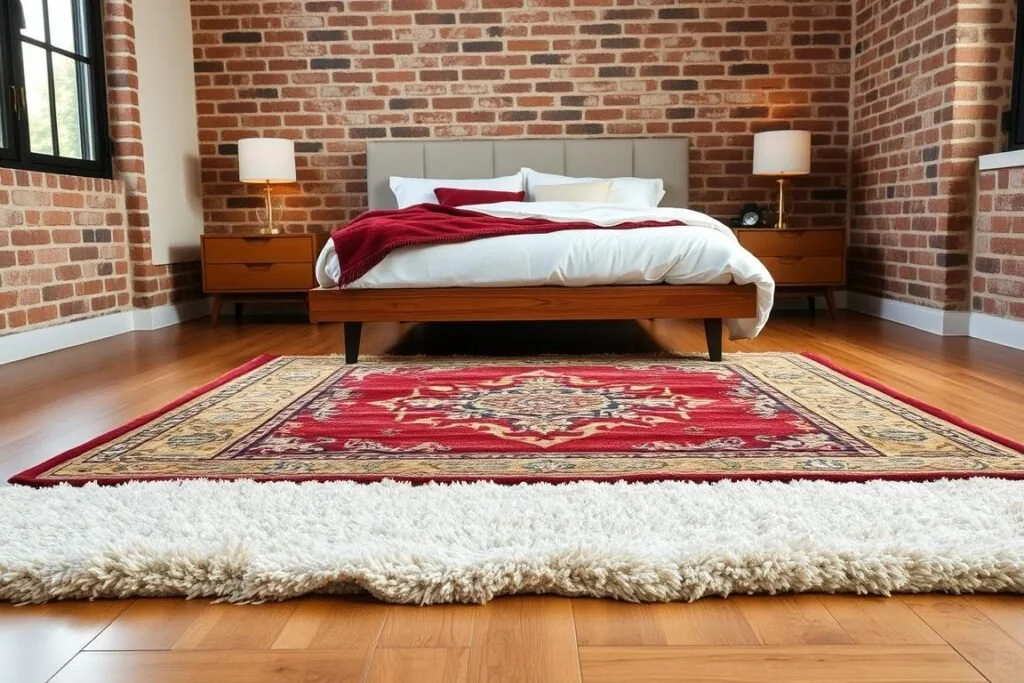

Layering rugs in a bedroom with a neutral flatweave base under a smaller patterned accent rug

Why Layer Rugs in a Bedroom Space

Pairing a large neutral with a smaller colorful piece anchors zones, adds depth, and brings warm texture without a full redesign. Comfort underfoot also supports a calming wind-down routine, which helps set the stage for better rest.

According to the CDC, most adults benefit from a consistent, comfortable sleep environment—layered rugs can reduce echo and add quiet softness.

Above: a generous jute base lets the patterned top rug pop without overwhelming the room.

It’s budget-friendly: a smaller vintage or bold accent over a calm base gives a luxe look without paying for a massive area piece. You can hide wear on a favorite rug or make a too-small piece feel right-sized.

Pro tip: overlap slightly and let the bottom rug dominate; the contrast keeps the layout balanced and easy on the eye.

  • Use a dominant base with a character-rich accent to add color and interest.
  • Try a tactile mix so texture becomes part of the room’s story.
  • Rotate pieces seasonally to protect the base and refresh the space.
Benefit How it works Quick tip
Depth & warmth Neutral base + textured accent Keep base much larger than top
Budget boost Small statement over affordable area Choose vintage or washable accent
Flexibility Swap top piece seasonally Overlap slightly, not edge-to-edge

Build the Perfect Base: Size, Materials, and Color Foundations

Start with a clean canvas. A flat, durable base grounds the furniture so your accent rug can shine. Measure, mark with tape, and make sure the base reads clearly from all sides.

Get the size right

Measure your room and outline with painter’s tape before buying. An 8′×10′ often fits queen beds, but confirm against your tape map and furniture. For more sizing help, see our Bedroom Rug Size Guide.
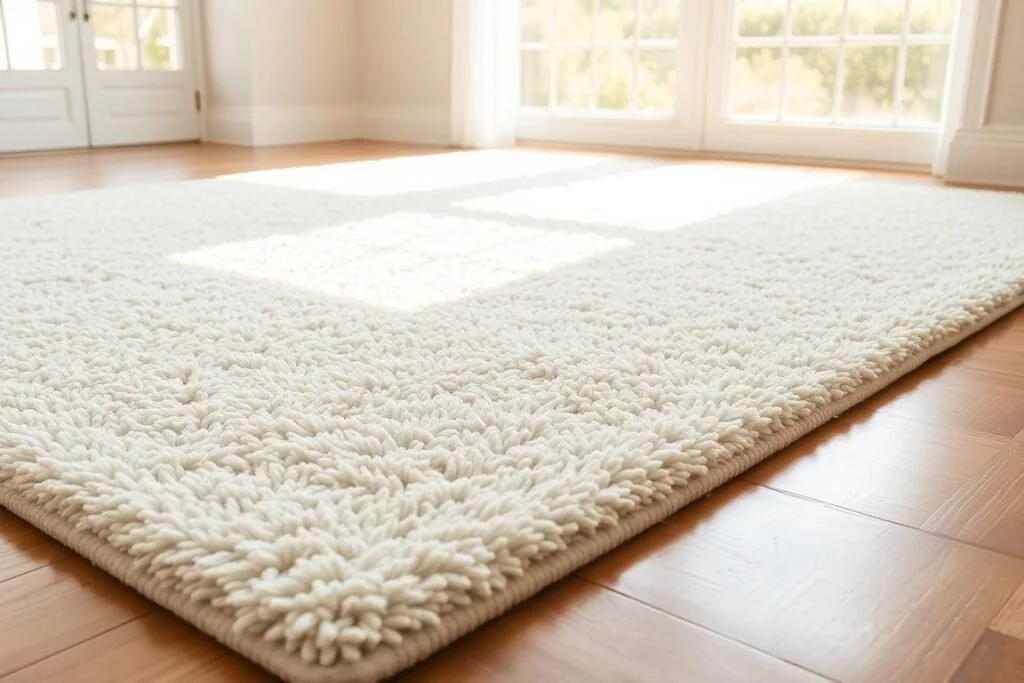
Layering Rugs in Bedroom works best when the base rug is sized first u featuring layer rugs bedroom designer

Mapping with tape shows how far the base should extend around your bed and nightstands.

Choose durable, neutral materials

Pick tightly woven jute or sisal for stability under furniture. A neutral base lets your patterned or colorful top rug stand out without visual clutter.

Shopping eco-conscious? Look for recognized textile and bedding certifications to reduce unwanted odors in the bedroom. See this overview of bedding and materials certifications and this consumer-friendly non-toxic buying guide for context.

  • Place front bed legs and nightstands on the base for a stable, tailored look.
  • If unsure, size up—the extra border looks custom.
  • Slide furniture and recheck clearances before committing.
Tip Why it matters Quick action
Measure first Avoid returns and wrong rug size Use painter’s tape to map footprint
Choose jute/sisal Durable, neutral base with texture Pick flatweave for furniture stability
Hold furniture on base Creates a cohesive, designer feel Place front legs on the rug

Layering Rugs in Bedroom: Step-by-Step for a Cohesive, Safe Layout

Place the biggest rug first, then test a smaller accent for the most flattering overlap. Work in small moves and check sightlines from the doorway and bed.
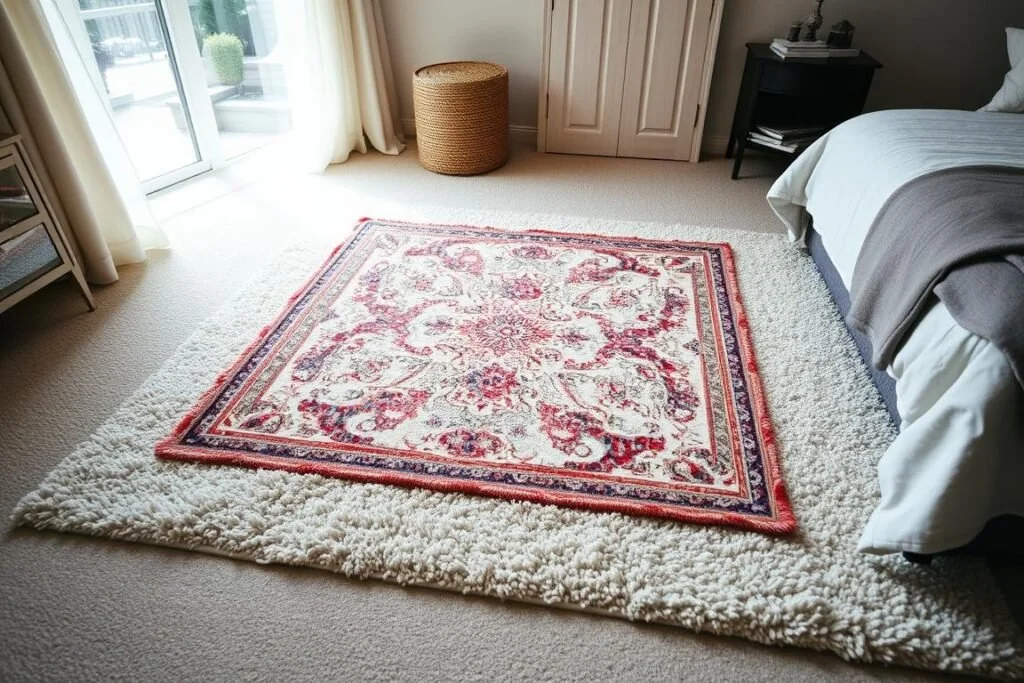
Layering Rugs in Bedroom shown step-by-step with a base rug and top ru featuring layer rugs bedroom designer

A visible border all around the top rug keeps the composition crisp and intentional.

Placement options

Center the base under the bed so the front legs sit on it. Add a top rug under the lower third of the bed, place a small accent at the foot, or run wide side runners for symmetry.

Pairing pattern and texture

Pair a calm, flatweave base rug with a patterned or high-pile top rug to add depth and color. The contrast reads curated without clutter. For low-maintenance care, consider washable low-pile accents.

Proportions that work

Keep the base much larger so a clear border shows all around. Aim for modest overlap—avoid edge-to-edge alignment so the layout feels balanced.

Safety first

Use a quality rug pad under the base and a thin grip under the top rug to reduce slips. Avoid stacking very thick piles, and walk your paths to test stability. See our quick guide to pads in the Bedroom Rug Size Guide.

  • Place base first, then add the top rug.
  • Show a consistent border around the accent piece.
  • Rotate the top rug regularly to refresh the look with minimal lifting.
Step Action Result
Set base Place largest rug under bed; add pad Anchors the space and prevents slip
Add top Center or offset smaller rug Creates contrast and visual interest
Secure Use a thin grip under the top Safe, stable walkways

For an illustrated step-through, see this helpful how-to from The Spruce.

Designer-Approved Combos, Room Scenarios, and What Works Best

Use a tried-and-true pairing when you want instant polish. A generous neutral base with a bolder smaller top works in most bedrooms.

Common size pairings: an 8′×10′ base with a 5′×8′ or 6′×9′ top. If furniture is visually heavy, go with the larger top so the accent still reads intentional. Mark both sizes with painter’s tape and walk the space before you buy.

Want a quick visual demo? Architectural Digest often showcases layered looks that mirror these size rules.

  • 8′×10′ base + 5′×8′ or 6′×9′ top for balanced proportion.
  • Size the top up if the accent feels too delicate.
  • Use a neutral jute or flatweave base so the top’s pattern pops.
Combo Best use Quick tip
8′×10′ base + 5′×8′ top Bedroom anchor Place front furniture legs on the base
8′×10′ base + 6′×9′ top Heavier furniture Let top corners peek past the table or bench
Runner over base Foot-of-bed or narrow spaces Layered look without extra area purchase

Want fit-checks by bed size? Don’t miss our quick explainer: Best Rug Sizes Under a Queen Bed, plus layout notes in the How to Choose a Bedroom Rug guide. For style inspiration, browse real-home examples on Apartment Therapy.

FAQ

Can you layer rugs over carpet in a bedroom?

Yes. Use a low-pile or flatweave base rug over carpet to stabilize the surface, then add a lighter accent on top. A thin pad or grip helps prevent shifting.

What size top rug works on an 8′×10′ base?

A 5′×8′ keeps a generous border; a 6′×9′ feels bolder with heavier furniture. Tape both to see which reads best in your room.

How do you keep layered rugs from slipping?

Use a quality rug pad under the base and a low-profile grip under the top rug. Avoid stacking thick piles in walkways.

Do layered rugs make a small bedroom look smaller?

No, if the base is large enough. A clear border around the top rug actually clarifies the layout and can make the room feel more intentional.

Conclusion

Wrap up the look by setting a generous foundation and letting one smaller piece define the mood. Anchor the plan with a clear base so the top rug shows a visible border, mix one texture with one pattern or color, and secure both layers with pads for safety. With these checks, Layering Rugs in Bedroom becomes a simple designer move that protects pieces, improves traffic flow, and elevates your space. For more cozy bedroom wins, explore Cozy Bed Quarters.

Other reading we found popular

Mirror Hacks for Small Bedrooms: 10 Space-Smart Ideas That Work

Round brass-framed mirror wall art reflecting a luxurious canopy bed.

The mirror hacks for small bedrooms that actually make a difference come down to three things: hang one big mirror instead of several little ones, put it where it catches daylight or a lamp, and make sure what it reflects is worth looking at. A 24-by-60-inch mirror on the wall across from your window does more for a cramped room than a dozen tiny round mirrors ever will. Everything below is about getting the size, placement, and hardware right.

Start here: the one placement rule that does the heavy lifting

Stand at your window and note what’s directly opposite. That wall is prime mirror real estate: a mirror there pulls daylight back across the room and gives your eye a second “window.” If the bed or closet owns that wall, the wall at a right angle to the window is next best.

The other half of the rule: a mirror only ever shows you what’s in front of it. Point one at a laundry pile and you get twice the laundry. Point it at a plant, a lamp, a framed print, or an open doorway and the room reads deeper.

Surrounding surfaces matter too. A mirror is just the most extreme version of a light-reflecting wall, so it pays off most next to pale paint and a white ceiling, where the bounced light has somewhere to go. Against flat charcoal walls, the same mirror reads as a dark panel.

10 mirror hacks for small bedrooms, with the numbers you need

1. One full-length mirror, wall-mounted

Go big and go vertical. A mirror roughly 20-24 inches wide and 60-70 inches tall lets you see your whole outfit and stretches the wall visually. Mount it with the glass bottom about 12-18 inches off the floor so you’re not losing the reflection to baseboard.

Wall-mounting beats a leaner in a tight room, since a leaning mirror eats 14-18 inches of floor depth at its base. Under two feet of clear floor along that wall? Mount it.

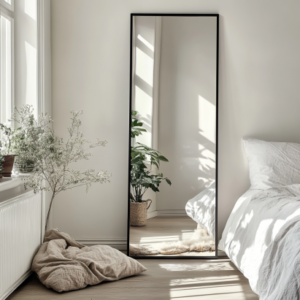
Black-framed full-length mirror mounted on a pale bedroom wall reflecting daylight from a window

2. Mirrored or mirror-fronted closet doors

Best space trade in the room: a full-length mirror for zero square footage. Bypass (sliding) and bifold closet doors both come with mirror panels, and you can glue a framed mirror to a flat slab door if the hinges are solid.

Check the glass spec before you buy. Federal rules for architectural glazing set safety requirements for the glazing used in doors and sliding glass doors, covering materials like tempered and laminated glass, so look for safety glass or a factory safety backing rather than a plain annealed mirror stuck on a moving door.

3. A mirror above the dresser, sized to the furniture

Size the mirror to about two-thirds to three-quarters the width of the dresser below it, so a 48-inch dresser wants roughly 32-36 inches of mirror. Leave 4-8 inches of bare wall between the dresser top and the frame, or the two pieces look stacked.

If you want the mirror to double as a getting-ready mirror, aim for the center of the glass at 57-60 inches off the floor, which is roughly standing eye level for most adults.

4. A horizontal mirror above the headboard

A wide, low mirror over the bed stretches the wall sideways and makes an 8-foot ceiling feel taller. Size it to two-thirds of the bed width (about 40 inches for a queen) and hang it 6-10 inches above the headboard.

Two cautions: anything over a bed needs studs or heavy-duty anchors, and some people hate catching their reflection from bed at 3 a.m. If that’s you, hang it on the wall behind your head instead of across from your feet.

5. Corner panels for an instant “extra room”

Two mirror panels on adjacent corner walls erase the corner line and read as a passage. Frameless panels in the 12-24 inch width range, run floor to ceiling, give the cleanest effect. Keep the seam tight; a visible gap kills the trick.

6. A mirror behind a lamp or sconce

Set a small round mirror behind a sconce or bedside lamp and the light bounces forward instead of dying against the wall. It’s the cheapest of the mirror hacks for small bedrooms with one north-facing window. Use a warm bulb around 2700K so the reflected light stays cozy, not clinical.

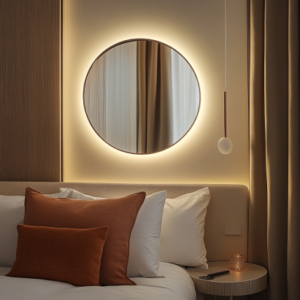
Round mirror behind a wall sconce bouncing warm light, one of the simplest mirror hacks for small bedrooms

7. Mirrored furniture, used in one spot only

A mirrored nightstand or a dresser with mirrored drawer fronts adds reflection without giving up wall space. One piece is plenty. Two or three and the room starts to look like a hotel lobby, plus every mirrored surface shows fingerprints and dust within a day. Antiqued or smoked mirror hides smudges better but reflects noticeably less light.

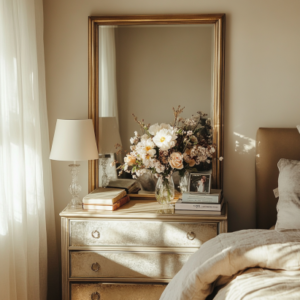
Mirrored dresser in a small bedroom styled with a lamp, books and flowers to reflect light

8. A tight mirror cluster, not a scattered gallery

Groupings work in a small room only if you treat them as one shape. Pick three to five mirrors, keep the frames in one material family, and space them 2-3 inches apart so the cluster reads as a single rectangle. Trace each frame onto kraft paper and tape it up before you drill anything.

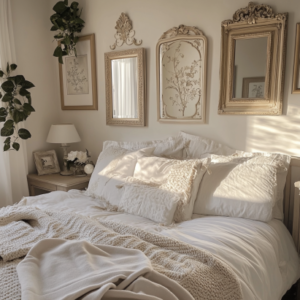
Cluster of small framed mirrors arranged tightly on a bedroom wall to reflect light and add depth

9. Mirrored sliding panels as a room divider

In a studio or shared room, a sliding screen with mirror on the bedroom-facing side buys privacy without blocking light. Ceiling-track systems need a joist to screw into, so locate joists before you commit. Acrylic panels weigh a fraction of glass, at the cost of a slightly wavy reflection.

10. A frame upgrade on a cheap mirror

A basic frameless mirror plus trim molding looks custom for the price of a few feet of wood. Miter the corners, glue the frame to the glass face with mirror-safe adhesive (silicone-based, not solvent-based, which can eat the backing), and paint or stain to match your bed. The same material logic applies here as with bed frame materials — matching the wood tone or metal finish across two pieces makes a small room feel deliberate instead of thrifted.

Hanging it safely: hardware, weight, and stud math

Mirror glass is heavier than people expect. Quarter-inch glass runs roughly 3.3 pounds per square foot, so a 24-by-60-inch mirror is about 33 pounds of glass before you add a frame. That is not a picture-hook job.

  • Find studs. They’re usually 16 inches on center, sometimes 24 in newer builds. Screwing into framing is always stronger than any drywall anchor.
  • If you must use drywall: snap-toggle or strap-toggle anchors handle real weight in half-inch drywall; plastic expansion plugs do not. Use two anchors minimum and treat the package rating as a best case, not a target.
  • Use two points, not one. Two D-rings or a French cleat keep a heavy mirror level and spread the load.
  • Anchor anything that leans. A tall leaning mirror can tip, and CPSC’s Anchor It! campaign makes the case for strapping tall items to the wall, which matters most if kids or pets share the space. Most leaning mirrors ship with a strap and screw; use it.
  • Renting? Adhesive strips are fine for mirrors under a few pounds only. For anything bigger, lean it and strap it, or use a lightweight acrylic mirror.

Mirror sizing cheat sheet

Spot Target size Mounting height
Full-length, wall-mounted 20-24 in wide x 60-70 in tall Bottom 12-18 in off floor
Above a dresser 2/3 to 3/4 of dresser width 4-8 in above the dresser top
Above the headboard About 2/3 of bed width 6-10 in above headboard
Behind a sconce or lamp 12-20 in round Center at 60-66 in
Corner panels 12-24 in wide, floor to ceiling Flush, tight seam at corner

Mistakes that make a small room feel smaller

Too many mirrors. Reflections that bounce off each other create visual noise. In a room under about 100 square feet, one large mirror plus one small accent is the ceiling.

Reflecting the wrong thing. Stand where you usually stand — in the doorway, at the foot of the bed — and check the reflection before you drill. If it shows a radiator, a cable box, or the back of a door, move it.

Thin, wavy glass. Budget mirrors in 1/8-inch glass often have a slight funhouse ripple. Look at a straight line, like a door frame, in the reflection before buying; if it bends, so will you.

Peel-and-stick tiles in a grid. The seams read as seams, and adhesive tiles can pull paint (or drywall paper) off when you move out.

Mirrors in a genuinely dark corner. With no light to bounce, a mirror just becomes a dark gray rectangle. Give it something to reflect first.

Damp rooms. If your bedroom runs humid or shares a wall with a bathroom, copper-free mirrors resist the black edge spotting that appears as the silvering corrodes.

Keeping the effect once it’s up

Dusty glass looks gray and reflects less. Spray cleaner onto a microfiber cloth rather than the mirror itself, so liquid can’t wick behind the frame and attack the backing, then buff dry with a second cloth. Skip ammonia-heavy cleaners on antiqued or unsealed-edge mirrors.

Then keep the reflected zone tidy. The mirror is now showing that part of the room twice, so a hamper or a charging-cable tangle in frame undoes the work. Pairing mirrors with real storage helps — see these storage ideas for bedrooms with no closet and a few space-saving furniture picks that keep floors clear.

Common questions

Do mirrors really make a room look bigger?

They make a room look brighter and deeper, not physically bigger. The gain comes from bounced light and the depth of a reflected view, which is why most mirror hacks for small bedrooms live or die on placement rather than quantity.

Where should you not hang a mirror in a bedroom?

Avoid directly facing the bed if movement or your own reflection at night bothers you, avoid unsupported drywall above a bed or crib, and avoid any wall that mostly reflects clutter or a blank dark corner. Feng shui advice against mirrors facing the bed is a preference, not a rule — go by whether it disturbs your sleep.

What size mirror suits a small bedroom?

One mirror at least 24 inches wide, or 60 inches tall for a full-length, does more than several small ones. A mirror that covers roughly a quarter to a third of the wall it’s on hits the sweet spot.

Glass or acrylic?

Glass gives a truer reflection and feels more substantial. Acrylic is lighter, shatter-resistant, and easier to hang in a rental or a kid’s room, but it distorts slightly and scratches easily. Above a bed, that weight savings is a real safety advantage.

Want more on positioning and styling? These bedroom mirror placement tips go deeper on angles and light, and the mirror decorating ideas roundup covers frames and arrangements.

Updated September 2026.